
In this article, you will learn how to create and send an invoice to your customers.
Creating clear, professional invoices is essential for billing your customers accurately, keeping your financial records organized, and getting paid faster. JobyDesk allows you to generate invoices from scratch or instantly convert an existing job’s details into a ready-to-send bill, significantly reducing manual data entry.
Building a new invoice
In order to create a new invoice, you will need to access your workspace dashboard.
1. Start the invoice:
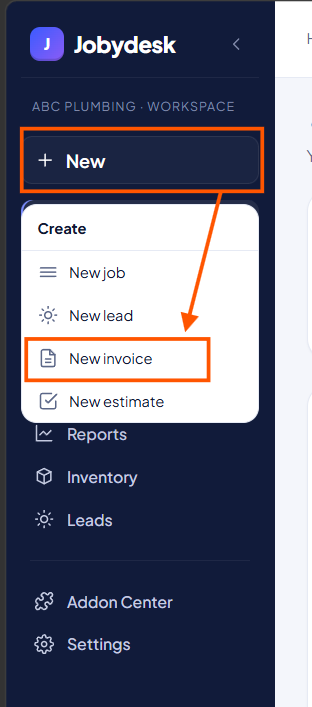
Navigate to the Invoices dashboard and click the + New invoice button in the top right corner (or use the + New menu on your left sidebar).
2. Select the customer:
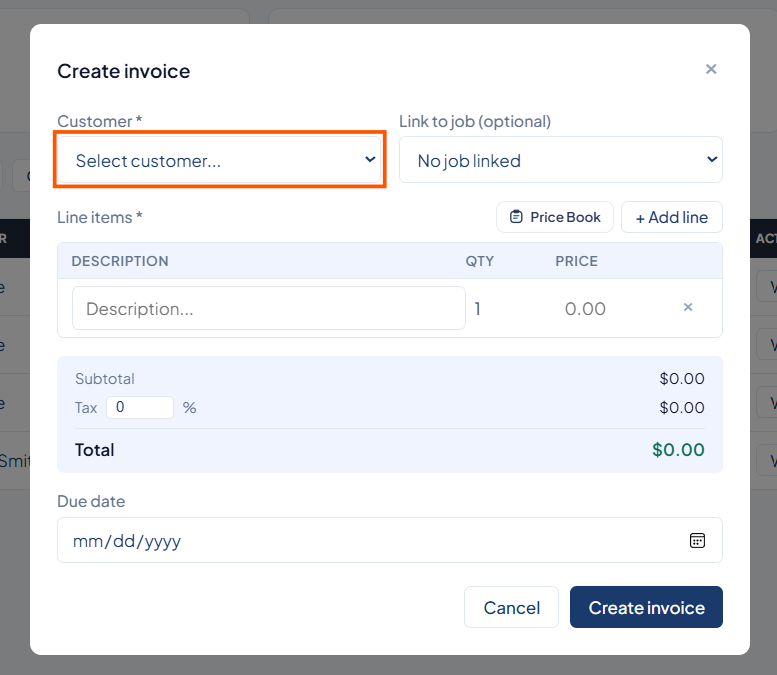
Click the Customer dropdown to search for and select an existing customer from your directory.
3. Link to a job (Optional):
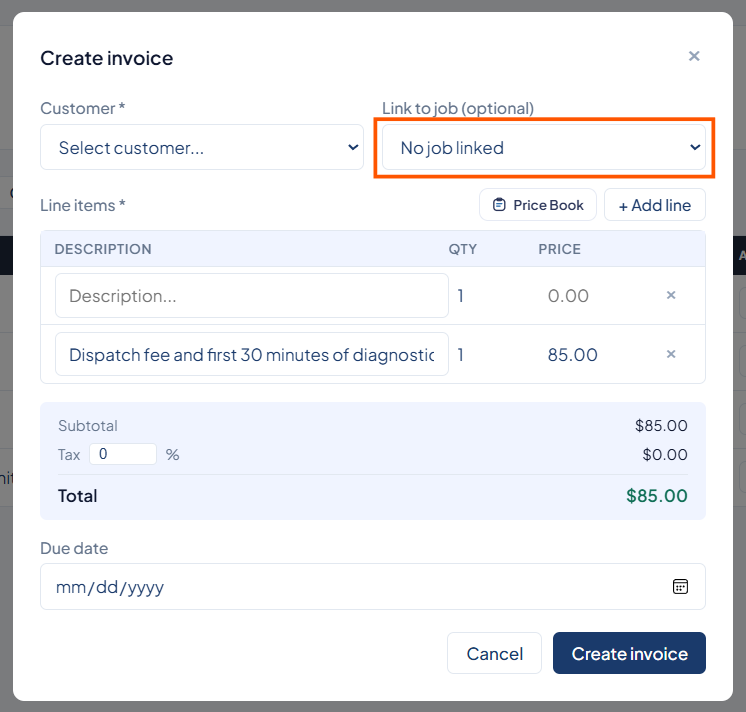
If this invoice is for a specific work order you have already created, use the Link to job dropdown. This helps keep your records organized and connects the financial data to the correct project. If it is a standalone bill, you can leave it as “No job linked.”
4. Add your line items:
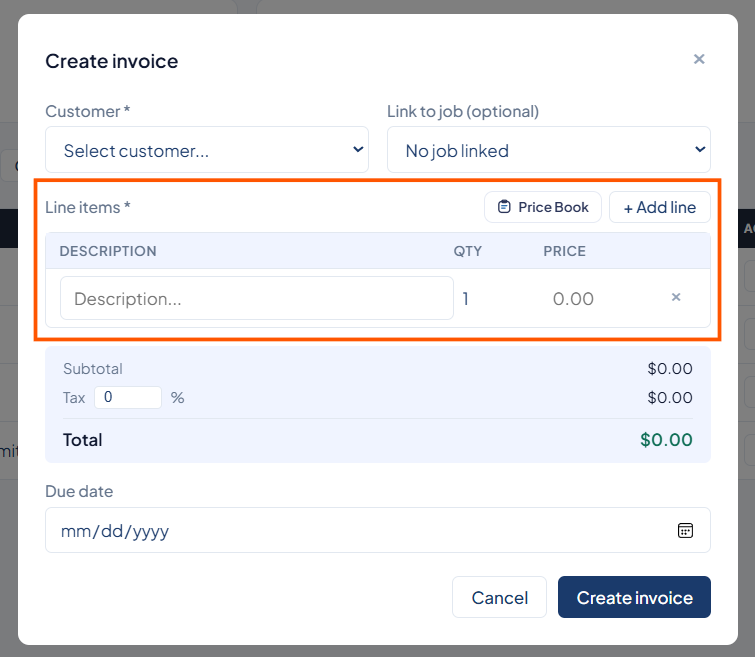
You have complete flexibility in how you bill your customers. You can choose either of the following methods, or mix and match both on the same invoice:
- Pick from the Price Book: Click the Price Book button to open your catalog. You can search by name, description, or category to quickly add standard, flat-rate services or inventory items directly to the bill.
- Input manually: Click the + Add line button to create a custom entry. Type in a specific description, set the quantity (QTY), and enter the custom price. This is perfect for one-off charges or custom labor rates.
5. Apply taxes:
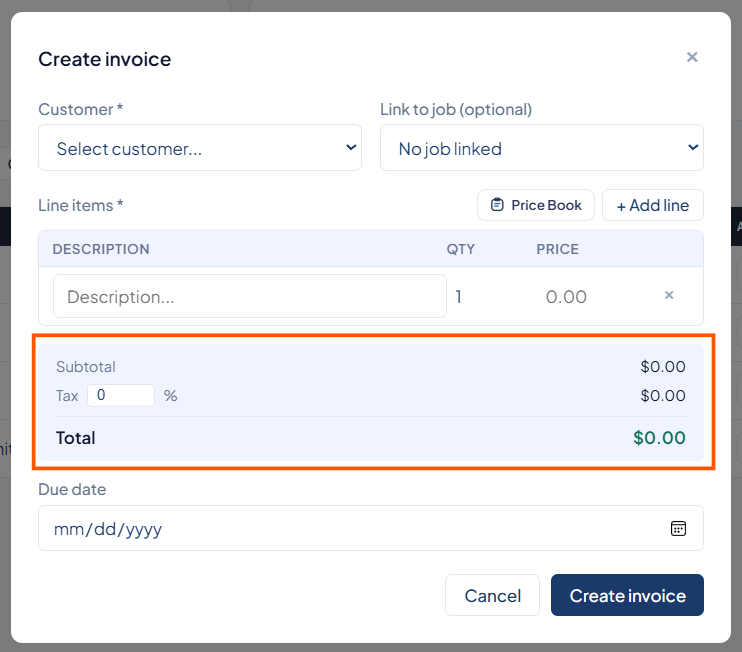
In the Tax field below your subtotal, simply type in your local tax percentage (e.g., 12%). The system will automatically calculate the final total for you.
6. Set the due date:
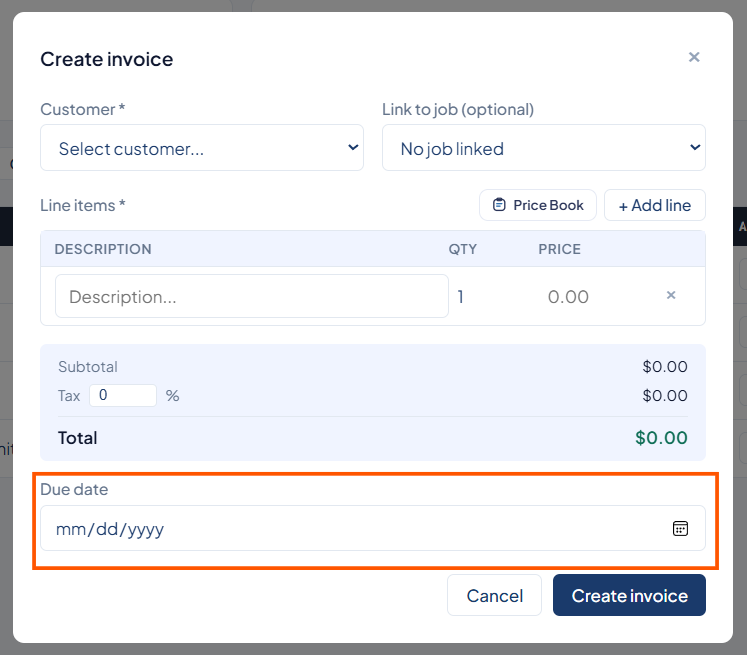
Click the Due date field to open the calendar picker. Select the exact date you expect the payment to be completed.
7. Create and manage:
Once all details are accurate, click the dark blue Create invoice button.

Customizing and sending your invoice
To add professional touches before delivery:
1. Open the editor: Click the View/Print button
2. Edit and review: Make final adjustments, add personalized notes, upload attachments, and use the live preview on the right side of your screen to ensure the PDF looks correct
3. Deliver to client: Click the Send Invoice button at the top right to open the review window
- Select your delivery method: Email or SMS.
- Customize your outgoing message and verify the attached PDF
- Click the final Send Invoice button to deliver the document
Managing payments
Once you receive payment, clicking the Mark Paid button on the invoices dashboard will instantly update the invoice status and automatically reflect the funds in your revenue metrics
Related Links: